How to re-vamp your unwanted clothes
The fast-fashion industry means that clothes are sadly no longer made to last, often being thrown away after only wearing them four or five times. Hundreds of people have taken advantage of the current lockdown situation as the time for a good clear out, but this has led to an increase in fly tipping, with mounds of unwanted clothing piled up outside charity shops and rubbish dumps that won’t be open for weeks.
The textile industry is the second largest polluter in the world, and responsible for millions of tonnes of waste a year, making it clear that simply throwing out your old clothes is not the solution.
Luckily, there is an answer. Upcycling is a new trend that has exploded onto the fashion scene in recent years, attracting a whole new generation of eco-conscious designers who balance sustainable fashion with creative ingenuity. The concept is simple. It involves reimagining old clothes and textiles and transforming them into brand-new wearable pieces. The best part is that upcycling isn’t just reserved for edgy designers or thrifty eco-warriors – it is something that anyone can do at home.
Even though most of the shops are closed, we’re all still looking for new ways to reinvent ourselves to go with our hastily chopped in quarantine fringes. So, if you’re trying to fill in some time in your busy schedule of Netflix binging, why not try these fun and easy DIY upcycling projects?
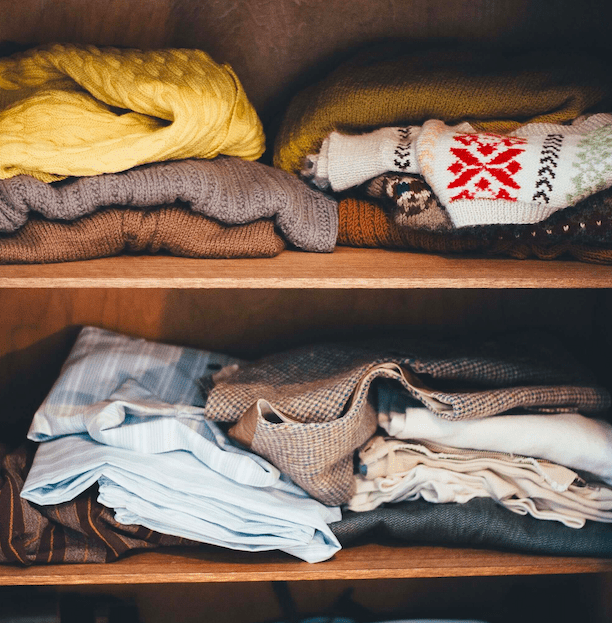
All you need is a basic sewing kit, dressmaking scissors (regular scissors will do if they are sharp enough), some old clothes, and a few extras that can be found around the house or ordered online.
Cute as a button
One of the simplest ways to rework an old shirt or cardigan is by switching out the buttons. This is extremely easy to do, requires only basic sewing skills, and can transform a bland high-street cardigan into an eclectic stand-out piece in minutes. The only thing to look out for is making sure the buttonholes are the right size for the new button – if not, you might have to cut them a little larger or add a stitch or two to close them up.
Old buttons are always worth salvaging (even if just for repairs). Always make sure you keep those little button replacement bags, and even if a garment is beyond repair, it’s worth snipping off those buttons and keeping them for later.
After all, this trick is something that can be done multiple times in keeping with changing fashions, adding years to a garment’s wardrobe-life.
Scrunch time
A fixture of our early 00s childhoods, scrunchies have found their way back around our ponytails and wrists over the last couple of years. And of course, the messy bun and scrunchie combo is quickly becoming the lockdown look of choice, so why not take the opportunity to have a go at making your own?
Scrunchies can be crafted from almost any material so this is the time to give any old clothes a new lease of life.
Start by cutting out a 16”x4” rectangle of your chosen fabric. Next, take a hair tie or elastic, and start folding your fabric around it, making sure the side you want on the outside of your finished scrunchie is on the inside of the fold, and secure with pins.
Once it is all secured (and looking like an inside out scrunchie), sew along the line of pins with a simple running stitch, and secure at the end with a double knot.
Now, gently turn the fabric inside out, fold one of the open ends inside the other, and secure again with a simple running stitch. Now throw your hair up into a pony with your brand new scrunchie and head outside for your one exercise of the day!
TIP: If you don’t have any hair ties lying around, a thrifty alternative is to rescue your holey tights by cutting them into strips horizontally so that you have elastic rounds just like a hair tie.
Crop to the top
It’s a pretty well-known fact that cropped is just cooler, and seeing as it will probably be summer by the time we are all let outside again, now seems like a good time to turn dowdy old clothes into cute cropped outfits.
Jeans are one of those notorious pieces – you finally find a pair that fits your bum and waist at the same time, and then they go right out of fashion. Even though I love my old skinnies from 2015, they really don’t look right with anything I wear nowadays, and I’m tired of rolling them up, just to have them flop right back down again. Luckily, it’s easy to give them a little update.
First, try them on, and make a dashed line around where you would like them to end – you can use fabric pen, chalk, eyeliner or anything else what will come out in the wash. (TIP: experiment by rolling up your jeans first and make sure the marked lines are even.)
Then lay on a flat surface and use dressmaking scissors to make an even cut directly across the bottom of each trouser leg. To create a distressed edge (and to hide any dodgy cutting) use tweezers or a thick needle to tease out the threads and cause a little bit of fraying – not too much or your jeans might start unravelling.
Jeans aren’t the only thing that can get the crop – scruffy t-shirts, over-sized button-ups or a hoodie can all get the same treatment. As before, try it on to decide how short you want to make it.
With tops, I would recommend taking it a bit shorter than the waistline to keep it from looking too boxy. Then lay the item on a flat surface and make an even cut. If your fabric allows, make a small cut at one edge and tear the rest of the way across – this will give a very flat edge with no choppy scissor lines. You can then decide if you would like to distress the edge (using the same method as for jeans) or leave it as it is.
Twinkle toes
Inspired by the way dancers stone their Latin heels, a friend from Warwick Latin and Ballroom shared her ingenious way to brighten up some old ankle boots.
Using some inexpensive crystals from eBay, tweezers, Gem-Tac (can be ordered from Amazon, but any strong glue you have would work) and a little of her own creative flair, she transformed some boring boots into a pair ready to light up any dancefloor. This easy project only requires a steady hand and some patience.
This method doesn’t just apply to boots. You could also bedazzle a pair of trainers or restore high heels that suffered on a wild night out, as the stones would cover up any suspicious stains. For a subtler look, you could leave the front of the shoe bare and try a simple line of crystals down the back of the heel for a little added sparkle.
Comments